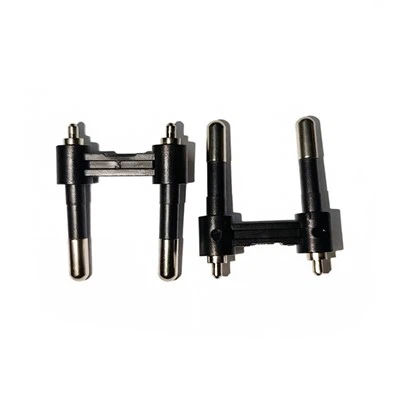


Hey there! As a supplier of electrical brass switch socket parts, I often get asked about how to connect these parts to a circuit board. It's a crucial step in the assembly of electrical devices, and getting it right is super important for the safety and functionality of the final product. So, let's dive into the process and break it down step by step.
Understanding the Basics
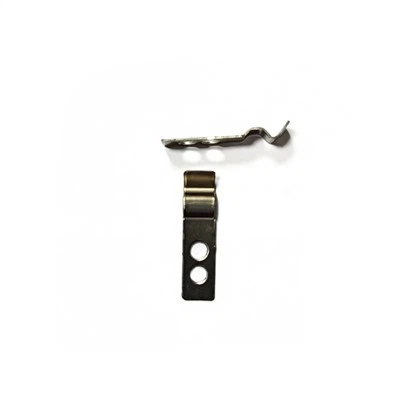
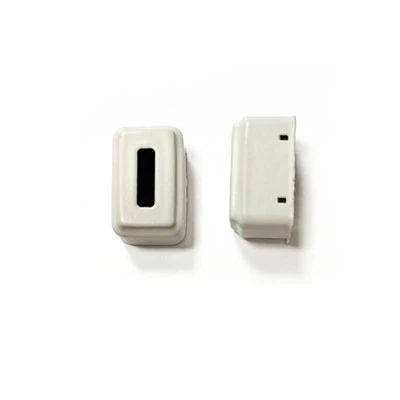
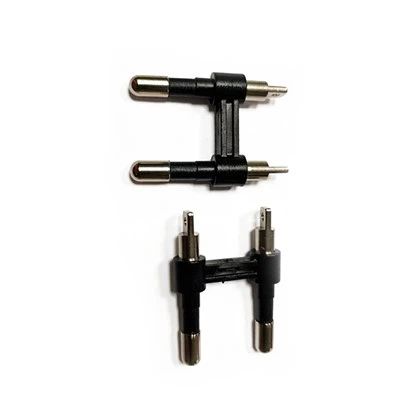
Before we start connecting anything, it's essential to have a good understanding of the parts we're working with. Electrical brass switch socket parts come in various shapes and sizes, each designed for a specific purpose. For example, Brass Electrical Contacts are used to make electrical connections, while Electrical Brass Stamping Parts for Switch Socket are often used for structural support and to house the contacts.
Tools You'll Need
To connect electrical brass switch socket parts to a circuit board, you'll need a few basic tools. These include:
- Soldering iron: This is used to melt solder and create a permanent electrical connection between the parts and the circuit board.
- Solder: A metal alloy that melts at a relatively low temperature and is used to join the parts together.
- Flux: A chemical compound that helps the solder flow and adhere to the metal surfaces.
- Wire cutters: Used to trim excess wire and make clean cuts.
- Tweezers: Helpful for holding small parts in place during soldering.
Preparing the Circuit Board
The first step is to prepare the circuit board. Start by cleaning the board to remove any dirt, dust, or oxidation. You can use a small brush or a lint-free cloth to gently clean the surface. Make sure the board is completely dry before proceeding.
Next, identify the locations on the circuit board where the switch socket parts will be connected. These locations are usually marked with small holes or pads. If necessary, use a multimeter to test the continuity of the circuit board to ensure that there are no shorts or open circuits.
Connecting the Brass Contacts
Now it's time to connect the Brass Electrical Contacts to the circuit board. Begin by placing the contacts in the correct positions on the board. Use tweezers to hold the contacts in place if needed.
Apply a small amount of flux to the contact points on the circuit board and the contacts themselves. This will help the solder flow and create a better connection. Heat the soldering iron to the appropriate temperature (usually around 350-400°C) and touch the tip of the iron to the contact point on the circuit board. Hold the iron in place for a few seconds to heat the metal.
Once the metal is hot, touch the solder to the contact point. The solder should melt and flow around the contact, creating a strong bond. Be careful not to apply too much solder, as this can cause shorts or other problems.
After soldering the contacts, let them cool down for a few minutes before moving on to the next step. Check the connections to make sure they are secure and there are no loose or dangling wires.
Attaching the Stamping Parts
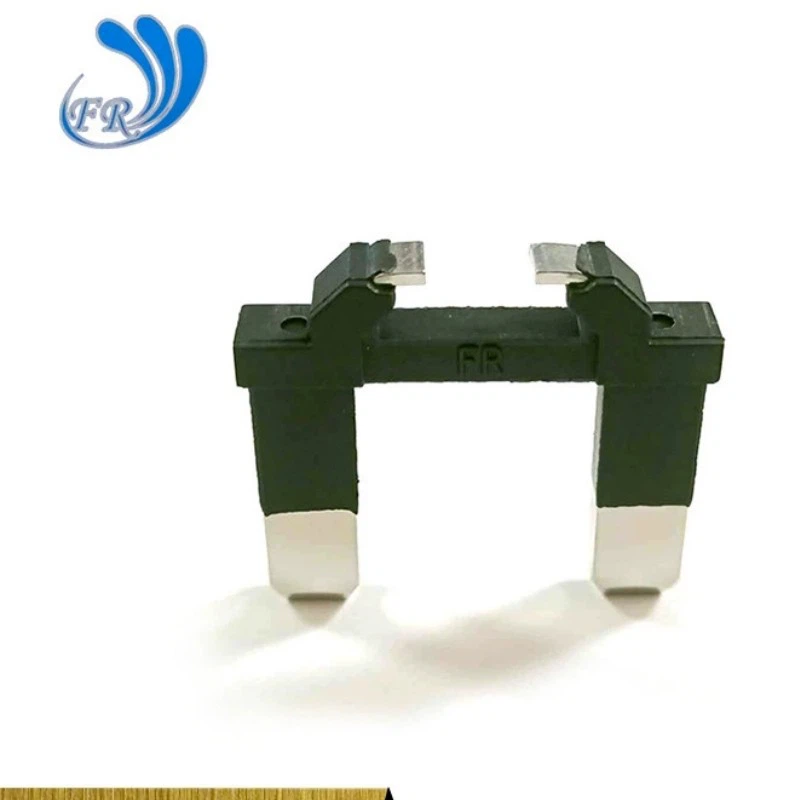
The Electrical Brass Stamping Parts for Switch Socket are used to provide structural support and house the contacts. To attach these parts to the circuit board, start by aligning them with the appropriate holes or pads on the board.
Use a small screw or a rivet to secure the stamping parts to the board. Make sure the parts are firmly attached and there is no movement or play. If necessary, use a small amount of solder to reinforce the connection.
Connecting the Copper Connecting Tab
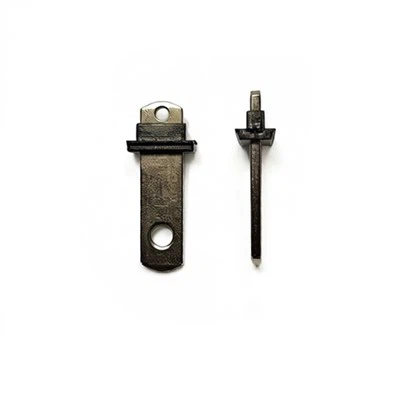
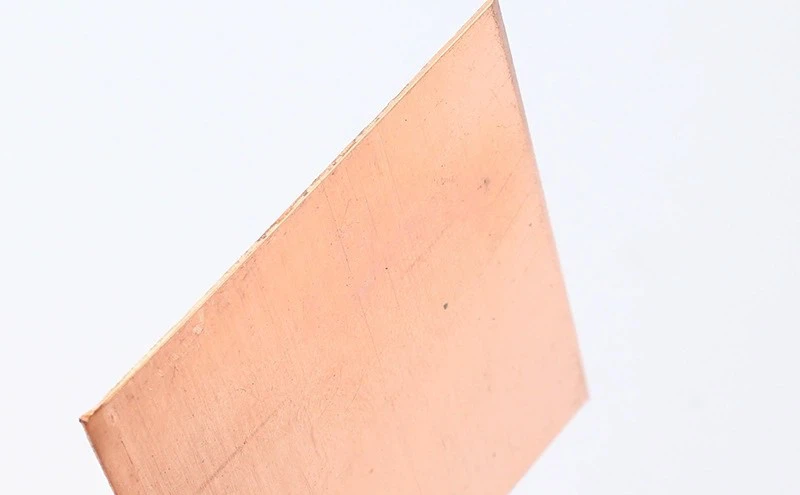
The Copper Connecting Tab for Power Plug is used to connect the switch socket to the power source. To connect the tab to the circuit board, follow the same process as for the contacts. Apply flux to the contact points, heat the soldering iron, and melt the solder to create a strong connection.
Make sure the tab is securely attached to the circuit board and there are no loose wires or connections. Check the continuity of the connection using a multimeter to ensure that the power can flow through the tab to the switch socket.
Testing the Connection
Once all the parts are connected, it's important to test the connection to make sure everything is working properly. Use a multimeter to test the continuity of the circuit and check for any shorts or open circuits. If there are any problems, go back and check the connections to make sure they are secure.
If everything checks out, you can proceed to assemble the rest of the electrical device. Make sure to follow the manufacturer's instructions and use the appropriate tools and materials.
Conclusion
Connecting electrical brass switch socket parts to a circuit board is a relatively straightforward process, but it requires attention to detail and the use of the right tools. By following the steps outlined in this blog post, you can ensure that your connections are secure and your electrical device functions properly.
If you're in the market for high-quality electrical brass switch socket parts, look no further. We're a leading supplier of these parts, and we offer a wide range of products to meet your needs. Whether you're a DIY enthusiast or a professional electrician, we've got you covered.
So, if you're interested in purchasing our products or have any questions, don't hesitate to get in touch. We'd love to help you find the right parts for your project and ensure that you have a successful installation.
References
- Electrical Engineering Handbook, Third Edition by Richard C. Dorf
- Electronics for Dummies by Cathleen Shamieh and Gordon McComb